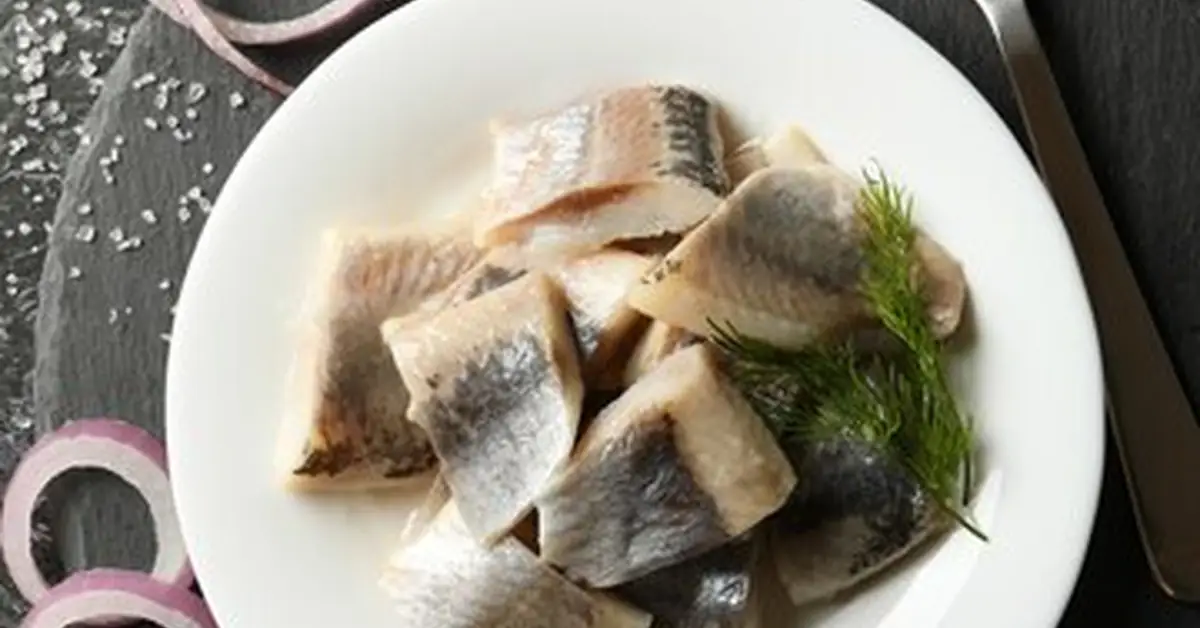
Making Delicious Homemade Pickled Herring: A Step-by-Step Guide
Learn how to make delicious pickled herring at home with this easy recipe! Pickled herring is a classic dish enjoyed by many, perfect as a snack or part of a meal. With just a few simple ingredients and steps, you can create flavorful pickled herring that will impress your family and friends. This comprehensive guide will walk you through each stage, from preparing the herring to serving suggestions and tips for success, ensuring you achieve perfectly pickled herring every time.
Ingredients: What You'll Need for Perfect Pickled Herring
Gathering the right ingredients is the first step to creating delicious pickled herring. Ensure you have all the components before you begin. The quantities listed below are for approximately 1 pound of herring fillets, easily adjustable to your needs.
-
Herring fillets: 1 pound (fresh or salted). The type of herring you choose will influence the overall flavor profile. Fresh herring will offer a cleaner taste, while salted herring requires a pre-soaking step to remove excess salt.
-
Water: 1 cup. This forms the base of the pickling brine, helping to dissolve the sugar and salt.
-
White vinegar: 1 cup. The vinegar provides the tartness and acidity crucial for preserving and flavoring the herring. White vinegar is preferred for its neutral taste, allowing the other flavors to shine.
-
Sugar: ½ cup. Sugar balances the acidity of the vinegar, creating a more palatable and less harsh taste. It also contributes to the preservation process.
-
Salt: 2 tablespoons. Salt is essential for both preserving the herring and enhancing the flavor. The amount can be adjusted slightly depending on the saltiness of your herring fillets (especially if using salted herring).
-
Onion: 1 medium, thinly sliced. The thinly sliced onion adds a subtle pungency and a pleasing textural contrast to the herring.
-
Bay leaves: 2. Bay leaves impart a subtle aromatic complexity to the pickling brine, adding depth of flavor to the herring.
-
Whole black peppercorns: 1 teaspoon. Black peppercorns provide a spicy kick, complementing the other flavors in the brine.
-
Mustard seeds: 1 teaspoon (optional). Mustard seeds add a slightly sharp and pungent flavor that some find particularly enjoyable in pickled herring.
-
Carrots: 1 medium, sliced (optional). Adding sliced carrots offers a vibrant color contrast and a touch of sweetness to the dish.
-
Fresh dill: a few sprigs (optional). Fresh dill provides a classic herbal note, which pairs beautifully with the herring and enhances the overall aroma.
Instructions: A Step-by-Step Guide to Perfect Pickled Herring
Follow these instructions carefully for consistently delicious results. Each step is crucial in achieving the perfect balance of flavors and textures in your homemade pickled herring.
Step 1: Preparing the Herring Fillets
-
Soaking the Herring (If Salted): If using salted herring fillets, soaking is essential to remove excess salt. Place the fillets in a bowl of cold water and let them soak for approximately 4 hours. Change the water at least twice during this period to ensure thorough desalination. The soaking time may need to be adjusted depending on the saltiness of the herring.
-
Rinsing and Drying: After soaking (if applicable), rinse the herring fillets under cold running water to remove any lingering salt. Gently pat them dry using paper towels. Thorough drying helps prevent the pickling brine from becoming diluted.
Step 2: Preparing the Pickling Brine
-
Combining Ingredients: In a medium-sized saucepan, combine the water, white vinegar, sugar, salt, bay leaves, whole black peppercorns, and mustard seeds (if using). Ensure that all the ingredients are well-mixed.
-
Heating the Mixture: Place the saucepan over medium heat and bring the mixture to a gentle boil, stirring continuously until the sugar and salt have completely dissolved. This process helps to fully integrate the flavors and ensures the brine's effectiveness.
-
Cooling the Brine: Once the sugar and salt have dissolved, remove the saucepan from the heat and allow the brine to cool completely to room temperature. This is a crucial step to avoid cooking the herring.
Step 3: Assembling and Pickling the Herring
-
Layering the Ingredients: In a clean glass jar or container (ensure it's clean and sterilized), layer the herring fillets, onions, and carrots (if using). Add a few sprigs of fresh dill between the layers for added flavor and aroma. Ensure the herring is neatly arranged to allow for even pickling.
-
Pouring the Brine: Once the brine has cooled completely to room temperature, carefully pour it over the layered herring, ensuring that all the fillets are completely submerged in the brine. If necessary, add more brine to ensure complete submersion.
-
Sealing and Refrigerating: Seal the jar tightly with a lid. Place the jar in the refrigerator and allow the herring to pickle for at least 24 hours. For optimal flavor, allow the herring to marinate for 3-5 days. The longer it marinates, the more intense the flavor will become.
Serving Suggestions: How to Enjoy Your Homemade Pickled Herring
Your homemade pickled herring is now ready to enjoy! Here are a few suggestions for serving your delicious creation:
-
Classic Rye Bread Topping: Serve the pickled herring on slices of rye bread, topped with thinly sliced onions and fresh dill. This classic combination is simple yet incredibly satisfying.
-
Charcuterie Board Star: Incorporate the pickled herring into a charcuterie board, alongside crackers, cheeses, and other cured meats. Its unique flavor profile adds a welcome complexity to the board.
-
Salad Addition: Add chunks of pickled herring to salads for a burst of salty, tangy flavor. It pairs particularly well with potato salads or green salads with a vinaigrette dressing.
-
Baked Potato Topping: Crumble some pickled herring over baked potatoes for a savory and unusual topping. The combination of the soft potato and the tangy herring is surprisingly delicious.
-
Appetizer Delight: Serve small pieces of pickled herring as an appetizer or hors d'oeuvre, garnished with fresh dill or a sprinkle of black pepper.
Tips for Success: Ensuring Perfectly Pickled Herring Every Time
Here are some valuable tips to ensure your pickled herring turns out perfectly every time:
-
Freshness Matters: When possible, use fresh herring fillets for the best flavor. The fresher the herring, the more vibrant the taste will be.
-
Adjust to Your Taste: Feel free to adjust the amounts of sugar and vinegar to your liking. If you prefer a sweeter pickle, increase the sugar; if you prefer a tarter pickle, increase the vinegar.
-
Experiment with Spices: Don't be afraid to experiment with other spices. Adding a pinch of allspice, cloves, or even a few juniper berries can add a unique twist to your pickled herring.
-
Proper Storage: Once pickled, store the herring in the refrigerator in an airtight container. This will help maintain its freshness and prevent spoilage.
-
Hygiene is Key: Ensure all your equipment and containers are thoroughly cleaned and sterilized before starting the pickling process. This helps to prevent bacterial contamination.
-
Check for Saltiness: Before serving, taste a small piece of the pickled herring to check for saltiness. You can adjust the seasoning of future batches based on your experience.
By following this detailed recipe and tips, you'll be well on your way to creating delicious homemade pickled herring that's perfect for any occasion! Enjoy the process and the delightful results.


