Easy Homemade Dill Pickles: A Step-by-Step Guide
This recipe guides you through making delicious, crisp dill pickles at home. It emphasizes fresh ingredients and straightforward steps, making it perfect for both novice and experienced cooks. The result? Tangy, flavorful pickles ideal for snacking, adding to sandwiches, or using as a condiment. This recipe focuses on refrigerator pickles, a simpler method than traditional canning.
Why Make Homemade Dill Pickles?
Store-bought pickles often contain preservatives and additives that can compromise flavor and texture. Homemade dill pickles, on the other hand, allow you to control the ingredients, ensuring a superior taste and a satisfying crunch. The process is surprisingly simple and rewarding, offering a sense of accomplishment along with delicious results. The freshness of the ingredients truly shines through in the final product.
Ingredients for the Perfect Dill Pickles
Gathering the right ingredients is crucial for successful pickle-making. Here's a detailed breakdown of what you'll need:
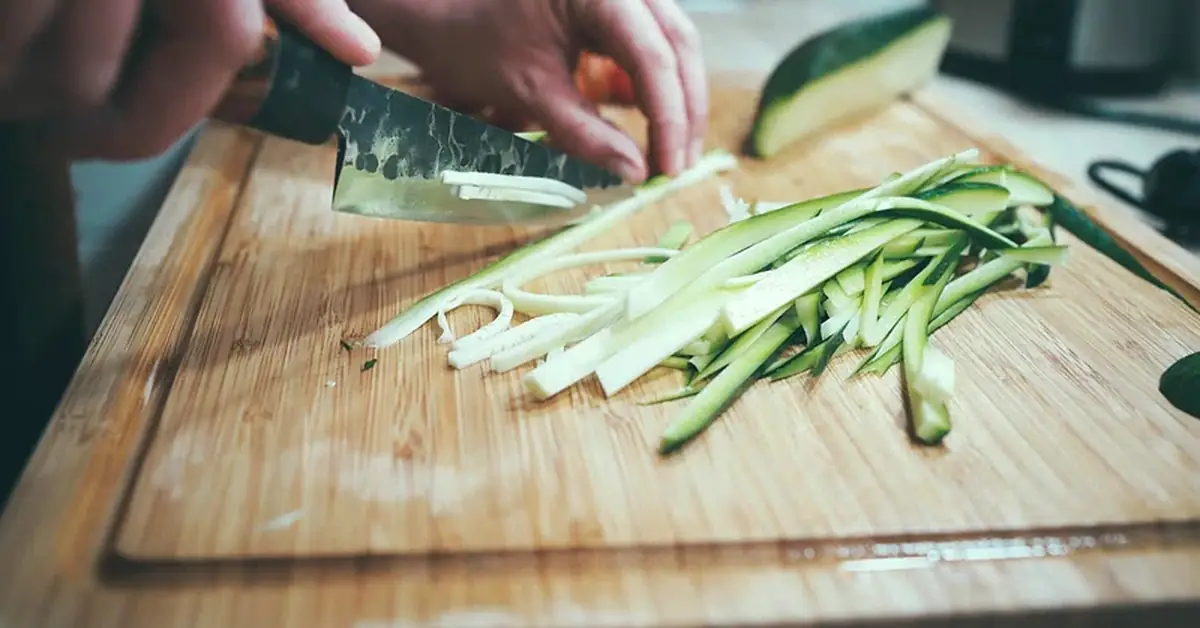
- Cucumbers: 4 Kirby pickling cucumbers (approximately 1 pound). Kirby cucumbers are known for their small size, firm texture, and high pickling ability, resulting in crisp pickles. Avoid large, seedy cucumbers, as they won't pickle as well. You can quarter them lengthwise, or for smaller pickles, slice them into spears or rounds. The choice depends on your preference.
- Water: 1 ½ cups. Use filtered or spring water for the best taste. Tap water can sometimes contain minerals that affect the final flavor.
- Distilled White Vinegar: ½ cup. Distilled white vinegar is preferred for pickling because it has a neutral flavor that won't interfere with the taste of the other ingredients. Avoid using apple cider vinegar or other flavored vinegars, as they might alter the desired dill pickle flavor profile.
- Salt: 1 tablespoon. Pickling salt is recommended because it's free of additives that can cloud the brine. Regular table salt can be used, but it may affect the clarity of the brine. Make sure the salt dissolves completely in the brine for optimal pickling.
- Sugar: 2 tablespoons. Sugar balances the acidity of the vinegar, adding a touch of sweetness that enhances the overall flavor of the pickles. Granulated white sugar is best. You can adjust the amount of sugar to your liking, slightly increasing it for sweeter pickles.
- Pickling Spices: 1 tablespoon. This is where you can add your personal touch! A classic combination includes mustard seeds, coriander seeds, and black peppercorns. Other options include celery seeds, dill seeds, and red pepper flakes. Experiment with different combinations to find your favorite blend.
- Fresh Dill Fronds: 4 large sprigs. Fresh dill is essential for the distinctive flavor of dill pickles. Use high-quality, vibrant green dill for the best results. If fresh dill isn't available, you can substitute 1 teaspoon of dried dill seeds, but the flavor will be slightly different.
- Garlic: 3 cloves, thinly sliced. Garlic adds a pungent, savory note that complements the dill. Adjust the amount of garlic according to your taste preference. Some people prefer a more garlicky pickle, while others prefer a milder flavor. You can also use garlic powder as an alternative, but fresh garlic offers a more intense flavor.
Detailed Instructions for Making Dill Pickles
This step-by-step guide will walk you through the process of making delicious homemade dill pickles. Remember to follow each step carefully for optimal results.
Step 1: Preparing the Brine - The Foundation of Flavor
- In a small saucepan, combine the water, vinegar, salt, sugar, and pickling spices. Ensure all ingredients are thoroughly mixed. The pickling spices should be evenly distributed throughout the liquid.
- Heat the mixture over medium-high heat, bringing it to a rolling boil. This process is crucial for dissolving the salt and sugar completely and sterilizing the brine, which helps prevent spoilage.
- Once boiling, reduce the heat to a simmer and continue to stir gently until the salt and sugar have completely dissolved. This should take only a few minutes. The mixture should be clear and free of undissolved solids.
- Remove the saucepan from the heat and allow the brine to cool slightly. It's important not to add the hot brine directly to the jars, as the heat can crack the glass.
Step 2: Packing the Jars - Layering for Flavor and Texture
- Sterilize two pint-sized mason jars (or one quart-sized jar) by washing them thoroughly in hot, soapy water. You can further sterilize them by running them through a dishwasher cycle or boiling them in water for 10 minutes. This is especially important if you are not canning the pickles.
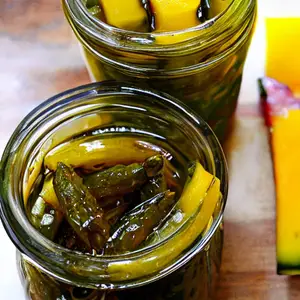
- Layer the quartered cucumbers, fresh dill fronds, and sliced garlic in the prepared jars. You can create visually appealing layers, or simply distribute the ingredients evenly. The dill and garlic will infuse their flavors into the cucumbers during the pickling process.
- Carefully pour the slightly cooled brine over the cucumbers, ensuring they are completely submerged. Leaving cucumbers exposed to air can lead to spoilage. Make sure there's about ½ inch of headspace at the top of each jar to allow for expansion during fermentation.
Step 3: Sealing and Refrigerating - The Waiting Game
- Seal the jars tightly with lids. Ensure the lids are securely fastened to prevent leakage.
- Place the sealed jars in the refrigerator. Your pickles will be ready to eat after a few hours, but they'll develop a richer flavor after at least 24 hours. Allowing them to sit for several days will result in a more intense and balanced flavor.
Storage Tips for Your Homemade Dill Pickles
Proper storage is vital for maintaining the quality and extending the shelf life of your homemade dill pickles.
- Refrigerator Storage: Store your dill pickles in the refrigerator, where they will keep for up to 4 weeks. Ensure the cucumbers remain fully submerged in the brine to prevent spoilage and maintain freshness. If the cucumbers start to rise, you can add more brine to cover them.
- Freezing: While not ideal, you can freeze dill pickles. However, they may lose some of their crispness upon thawing. If freezing, make sure to allow the pickles to cool completely before freezing to prevent damage to your freezer.
Precautions and Helpful Tips for Pickle Perfection
This section highlights important considerations for successful pickle-making.
- Cucumber Selection: Choosing the right cucumbers is paramount. Kirby cucumbers, with their small size and firm texture, are best for pickling. Avoid using large or overripe cucumbers, as they tend to become soft and mushy during the pickling process.
- Flavor Adjustments: Feel free to customize your pickles! Adjust the amount of dill, garlic, or other spices to match your taste preferences. For a stronger dill flavor, add more dill sprigs. For a spicier pickle, add a pinch of red pepper flakes to the brine. The beauty of homemade pickles lies in your ability to personalize them.
- Safety Note: This recipe is for refrigerator pickles, which do not require the high-heat processing of canning. Refrigerator pickles are safe to eat as long as they are stored properly and consumed within a reasonable time frame (4 weeks). Attempting to can pickles without proper canning techniques and equipment can be unsafe and lead to botulism.
- Brine Clarity: If your brine becomes cloudy, it may be due to impurities in the water or the use of regular table salt. Using distilled water and pickling salt can help prevent cloudiness.
- Proper Jar Sealing: Ensure jars are tightly sealed to prevent spoilage and maintain a crisp texture in your pickles. A poorly sealed jar may introduce air that can lead to bacterial growth.
By following these steps and tips, you'll craft delicious, homemade dill pickles that surpass store-bought varieties in both taste and freshness. Enjoy them as a snack, or elevate your sandwiches, salads, and other culinary creations with their tangy, crisp perfection. Happy pickling!


